date: 2018-05-03 linktitle: Scanning from VSTS menu: cloud: parent: tutorials notoc: true title: Scanning from VSTS weight: 119 description: This is a guide to setting up CodeScan to scan your projects from VSTS. layout: cloud — –>
Scanning Projects in Visual Studio Team Services
Prerequisites
- CodeScan version 4.0.9+
- A VSTS Project for your Salesforce code.
Install the CodeScan Cloud Extension
- At the top right of your screen, click the Marketplace icon. Select Browse Marketplace.
- Search for CodeScan, select the CodeScan Cloud extension and click Get it free
- Select your account and complete the installation.
Setup
- On your Project Dashboard, select Build and Release and create a new Build Definition.
- Select the source for your project and click Continue. If scanning from a remote git repository, the project’s default branch must be master.
- On the Select a template page, select the Salesforce with CodeScan Cloud template and click Apply.
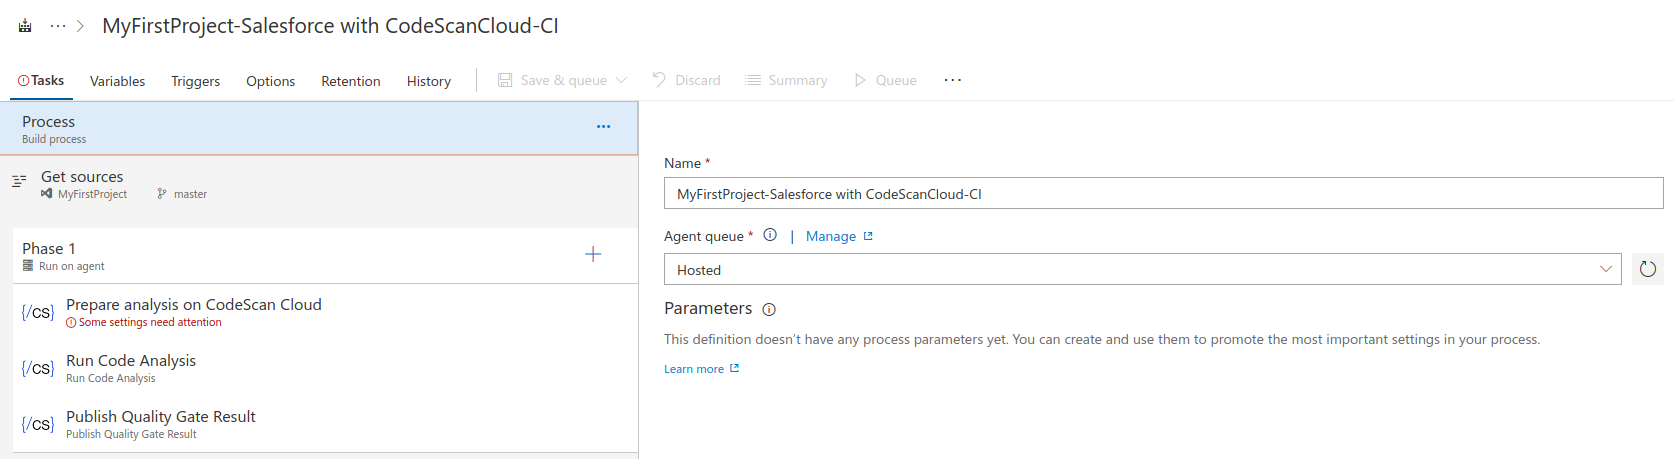
In the Agent queue dropdown menu, select Hosted.
In the Prepare Analysis on CodeScan Cloud section, create a new Service Endpoint.
- Add a name for your connection.
- You will need a token from your CodeScan Cloud account for this step. Click the link to be taken to the token generation in CodeScan Cloud.
- Make sure to verify the connection before leaving this pop-up.

- Select your new Service Endpoint and the Organisation you would like to connect to.
- The Organisation key is available at the top left of your Organisation page.

- Enter your Project Name, Key and Version. If your chosen name and key do not exist, they will be created.
- In the Advanced section, uncomment the appropriate lines and add your Salesforce username and password if you would like to view your test coverage.
- Your password must be entered with your token at the end. eg
passwordtoken - To scan from a Sandbox you will need to change the
salesforce.urlparameter to https://test.salesforce.com.
- Your password must be entered with your token at the end. eg
- If you wish to use the CodeScan Cloud Branch functionality and scan from a separate repository, you will need to use the Triggers menu to enable Continuous Integration and Pull Request Validation for the appropriate branches.
- Click Save and Queue (and once more at the bottom of the pop-up), and your first build will start.
- When the build finishes you will be able to see your project in your selected Organization